This website uses affiliate links. Should you decide to purchase after clicking one of these links, I may receive compensation from the company. There is no difference in the cost to you.
It’s been nearly one year since our real estate agent confirmed that our little post-military retirement home did not need any more renovations to be market ready. One project we did in that home (and every home we’ve lived in to date) was to upgrade our shower head.
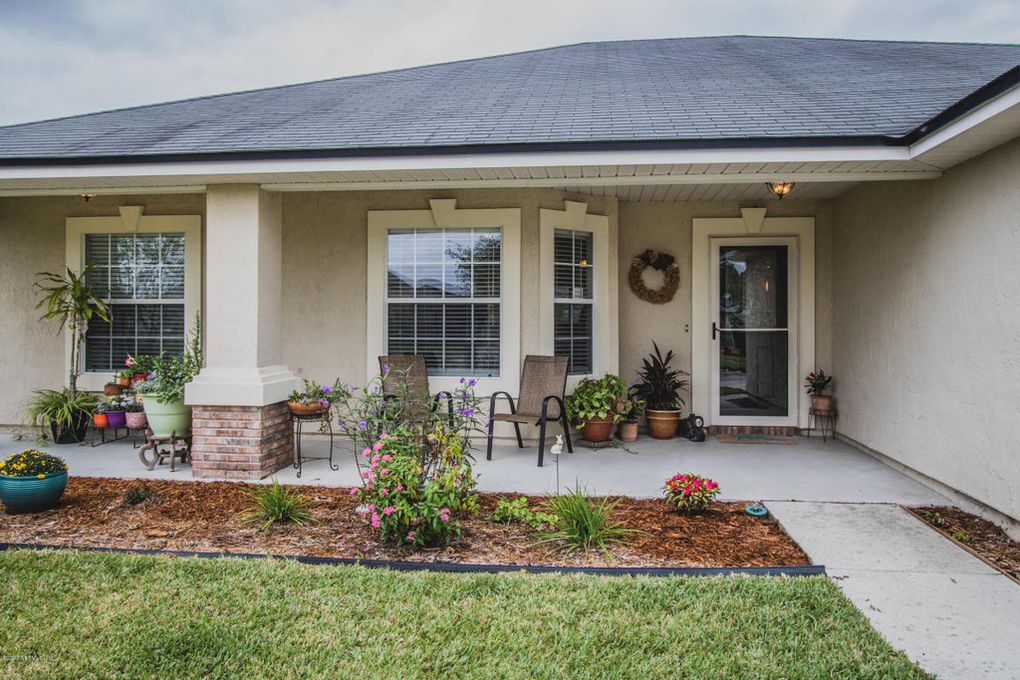
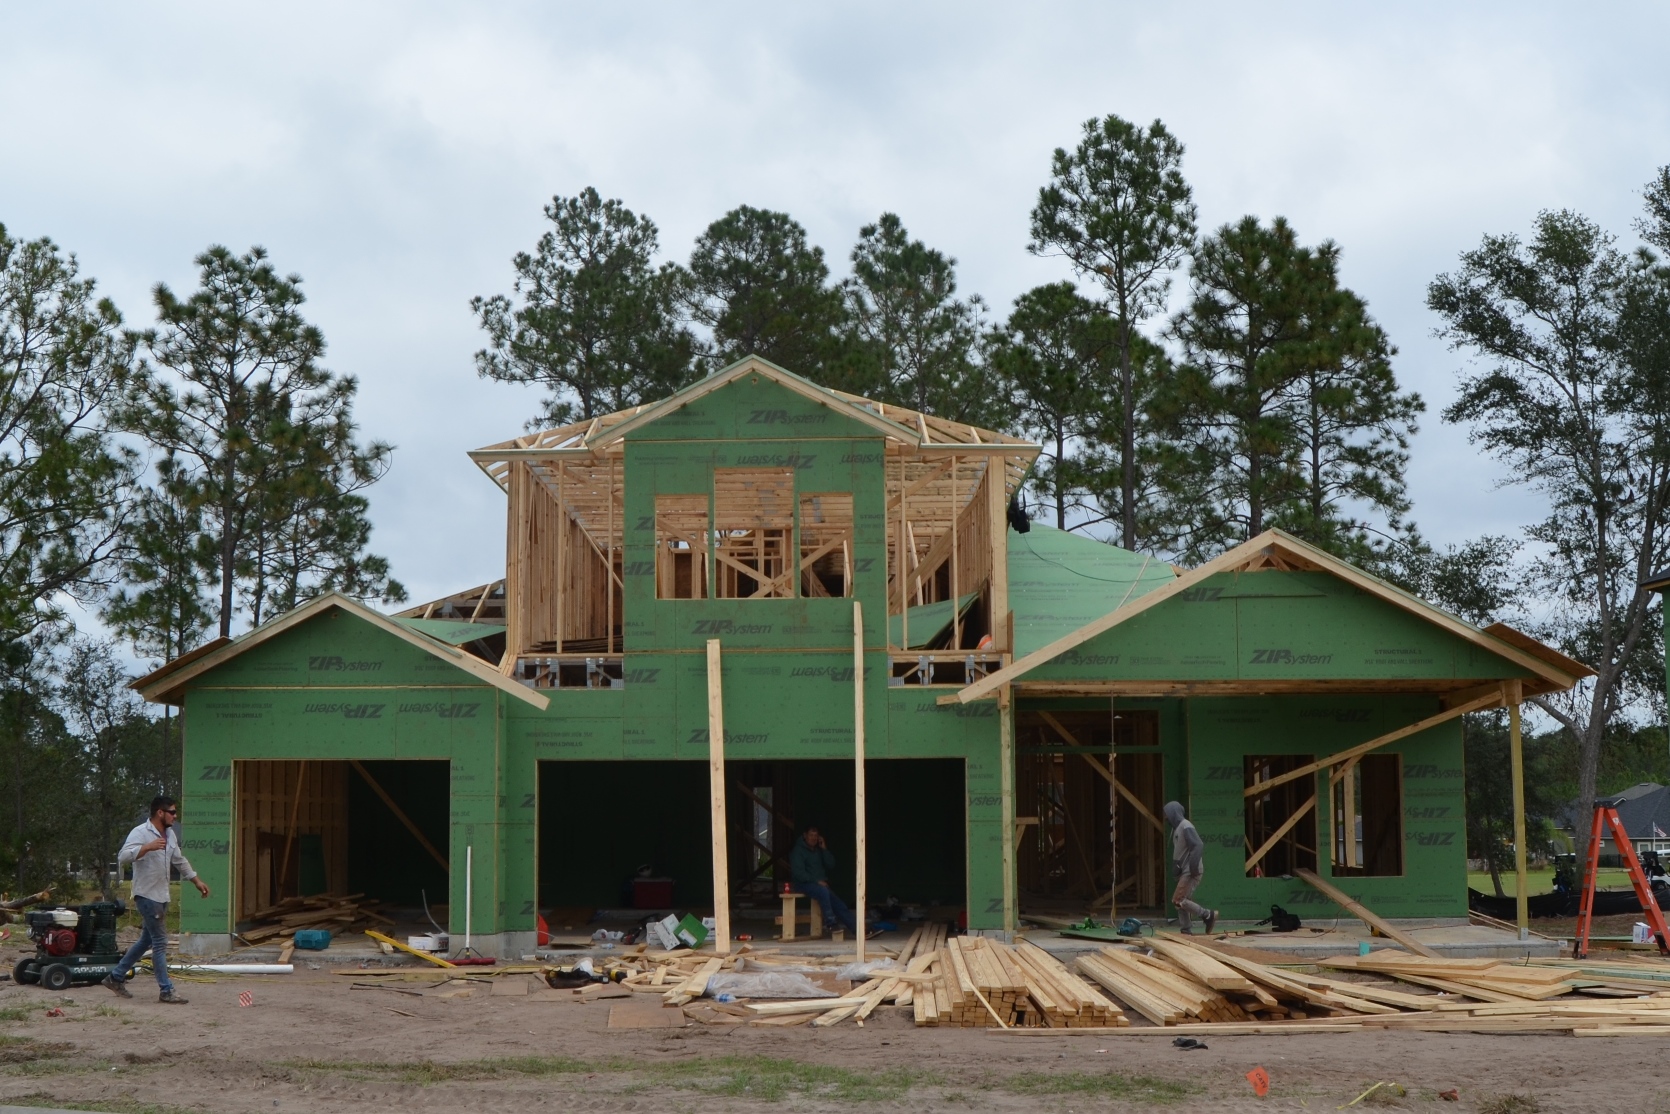
Just a few short weeks after listing that home, we signed the paperwork to begin building a home for the first time.
If there is one thing I would share with anyone who is considering building a home, it’s this: building a home does not mean you will get every single thing on your wish list.
There are literally thousands of decisions and jobs to be completed when a home is constructed. There are times when you will find yourself having to choose which features are non-negotiable to you, the same when shopping for a pre-existing home.
For our new home, we wanted the builder to focus on surfaces and features that would be harder to change on our own in the future. This means we have many items in our beautiful new home that can only be classified builder basic.
After many years of moving as a military family, living in rentals around the world and even owning a couple of our homes, we learned a lot of DIY skills we can now use to upgrade our home’s features beyond builder basic. Fall is a fantastic time for these projects. The weather is cooler and we still have a couple months before family members come to visit for the holidays. Still, no one with a busy family and a schedule to match wants to spend much time on complicated home improvements.
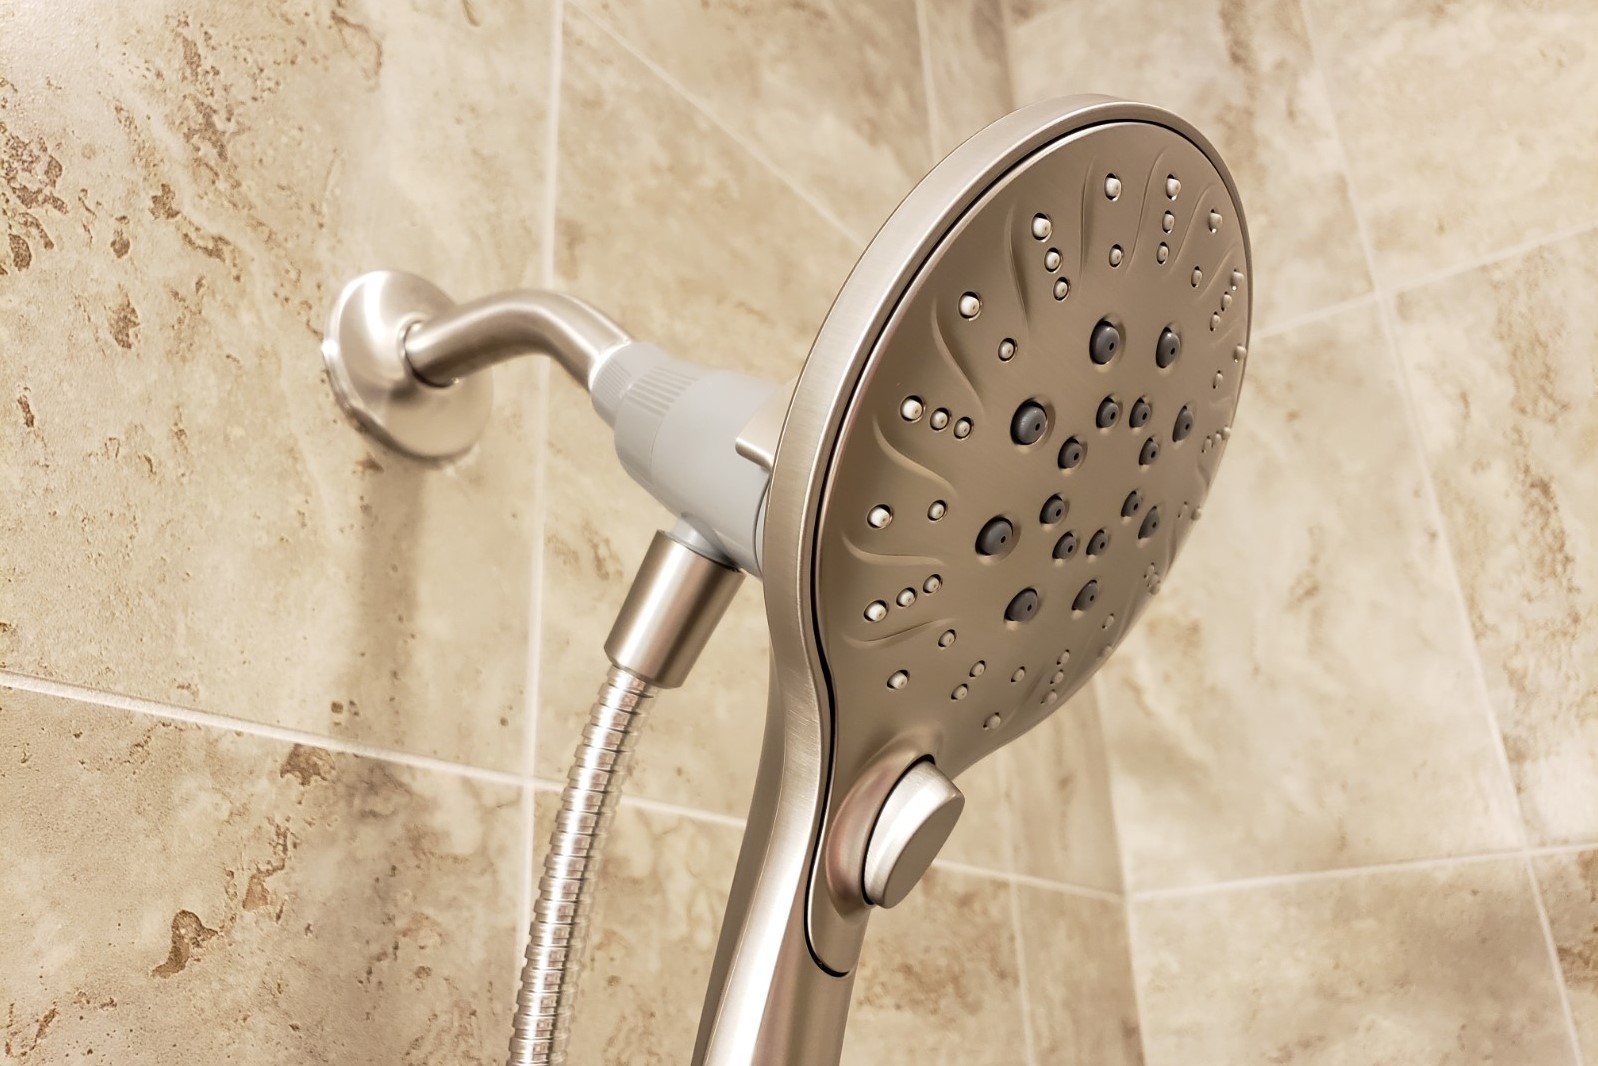
That’s where a project like this simple shower head upgrade enter the scene. This project literally took us less than five minutes. Us, of course, means my handy husband doing the work while I take pictures.
First, we made sure the water was turned off at the faucet. Ignore the water spots if they bother you.
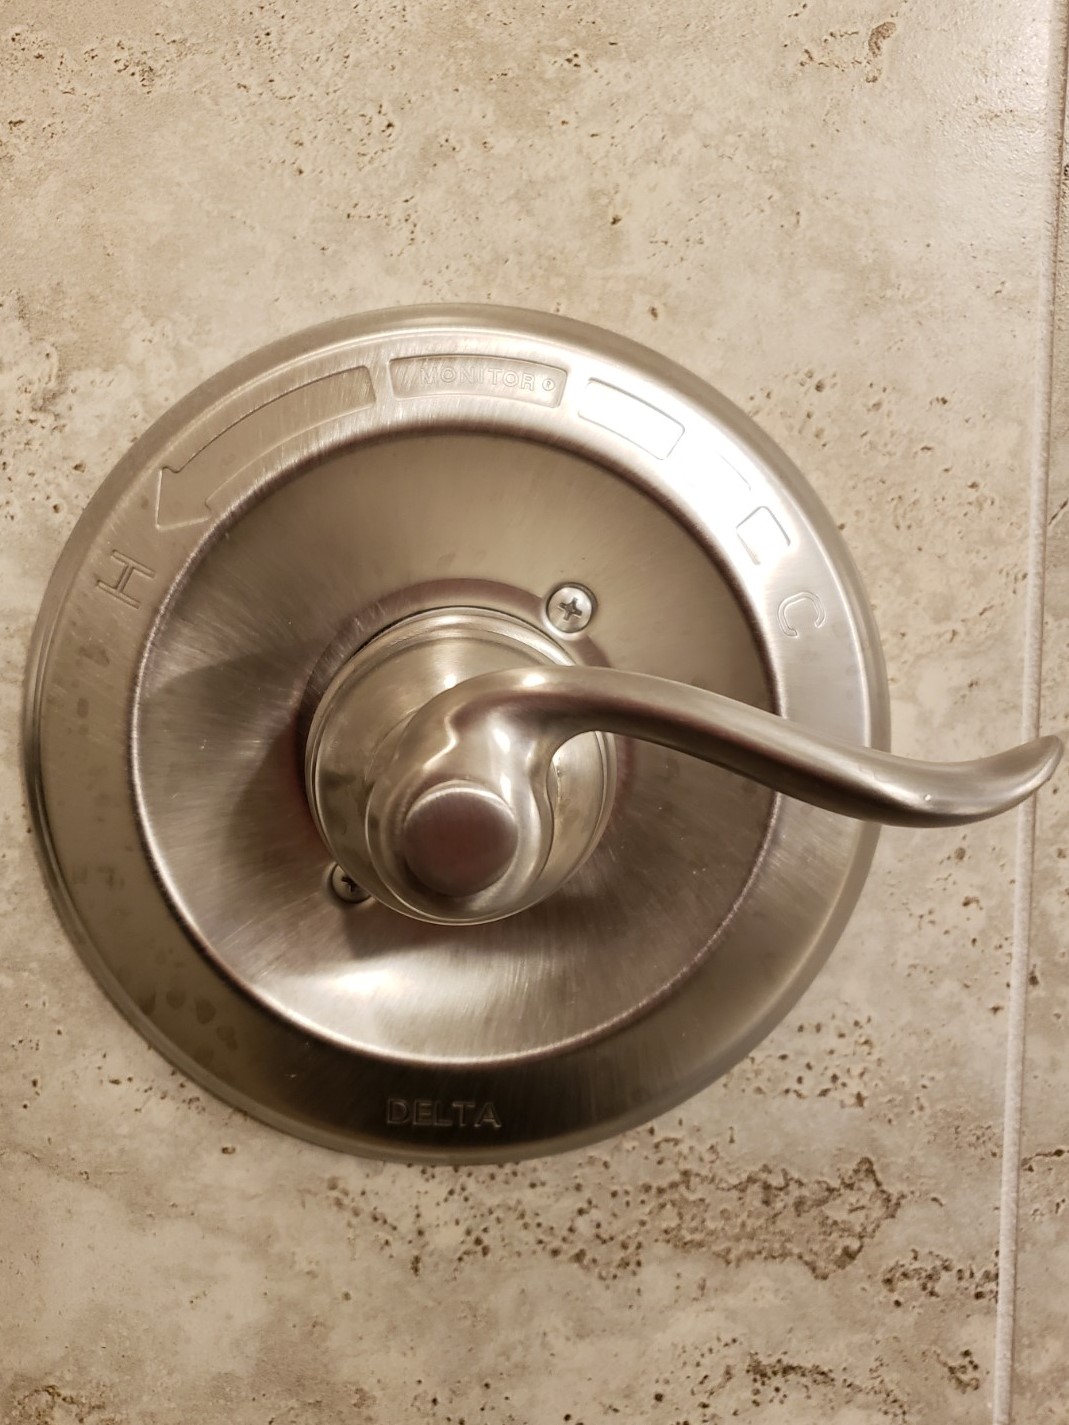
Second, we unscrewed the old shower head.

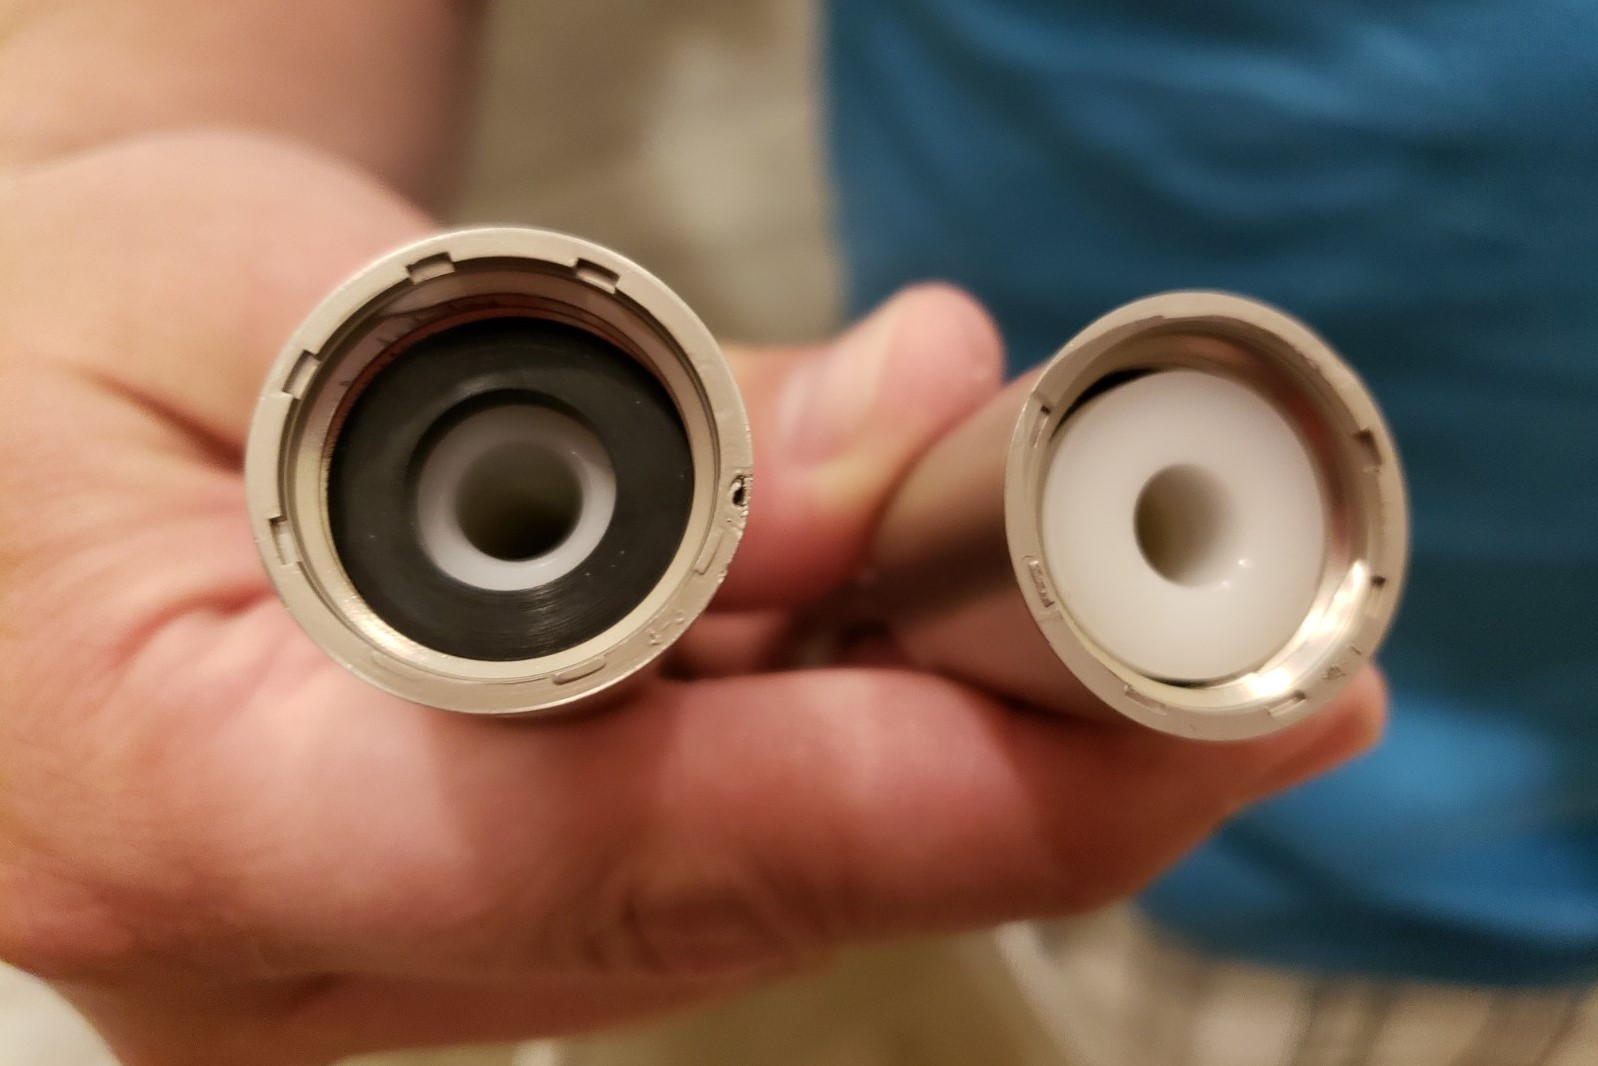
Third, we made sure we had some teflon tape wrapped around the pipe. You can do this without the tape but if you find it leaks slightly after installation, this is probably what you’ll need to go back and add.
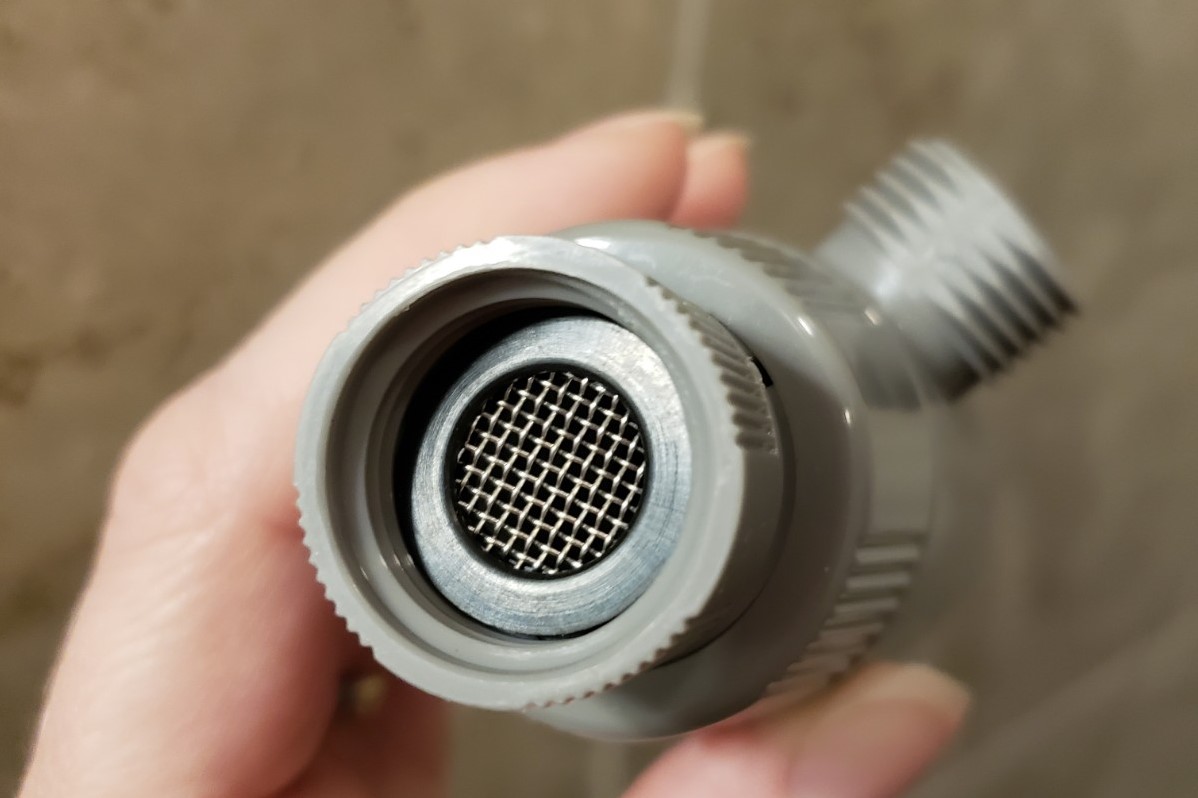
Fourth, we inserted the gasket from the package into the female end of the hose for the sprayer. You’ll see the black gasket sitting inside that end in the picture below. It also shows the slight difference in the shapes of the ends of the hose. The female description is simply a term used for that particular shape of the hose end. There was also a gasket for the sprayer for our particular shower head.
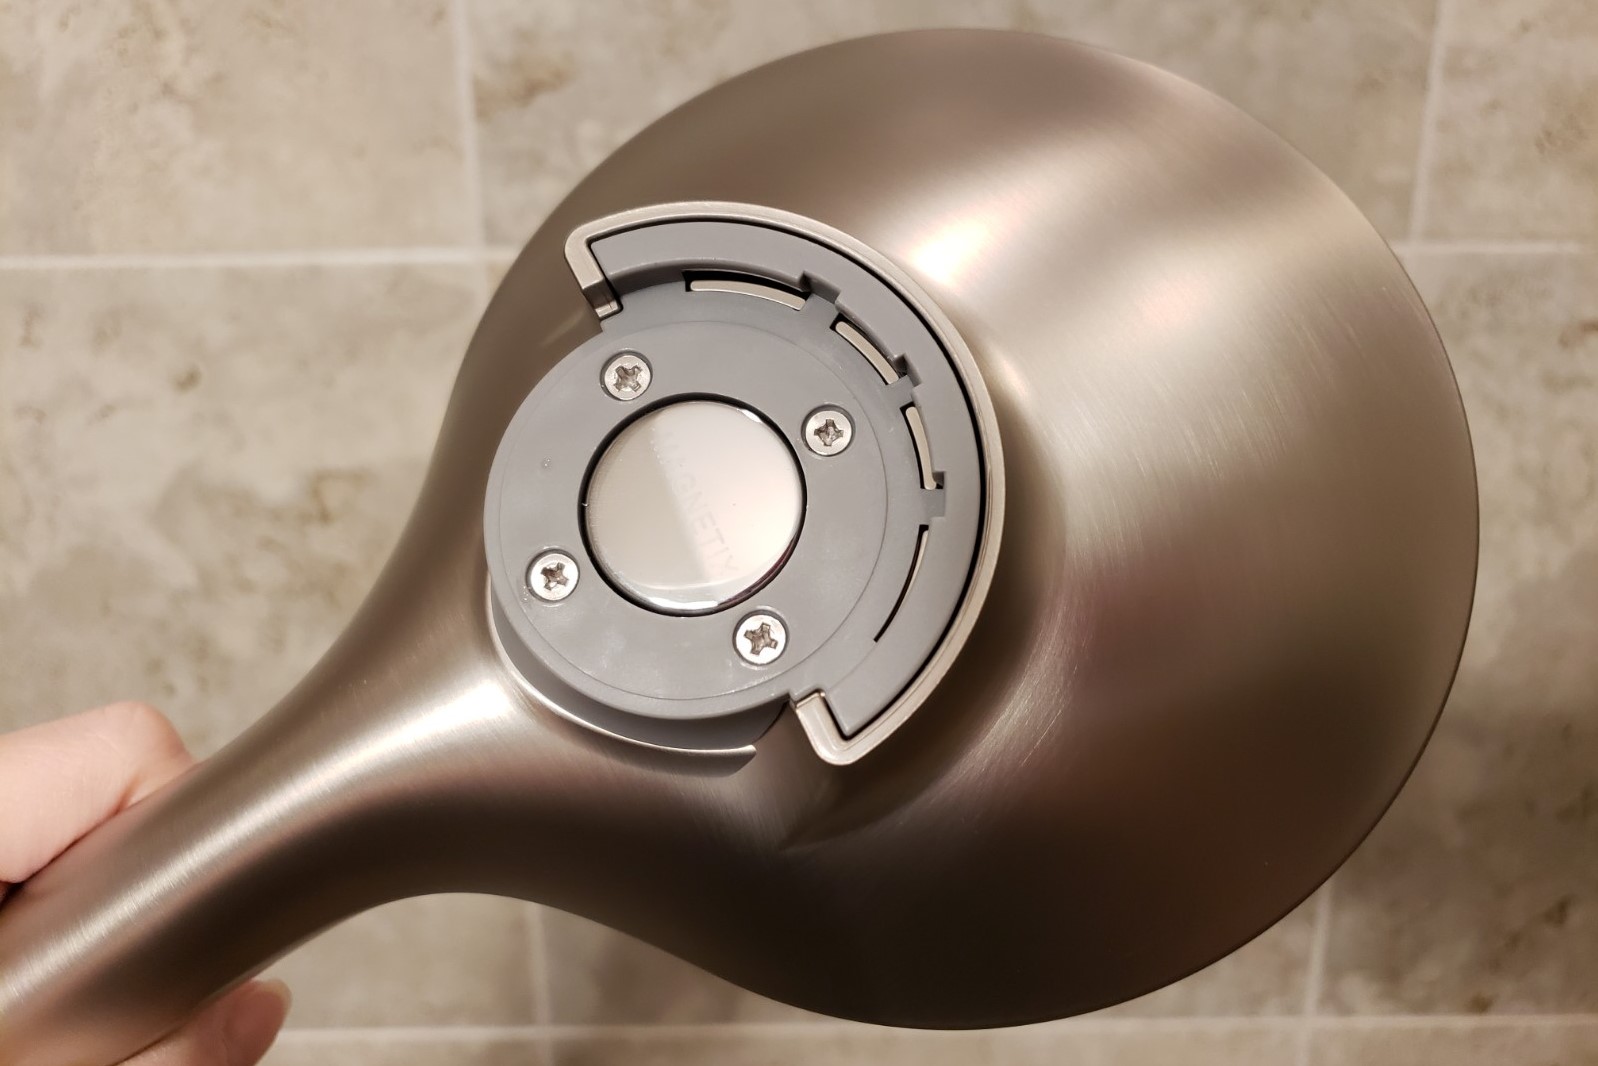
Fifth and finally, we simply screwed on the new shower head mount, attached the hose to both the shower head mount and the sprayer, then attached the sprayer head to the shower head mount with the magnet.
This is the part I’m excited about, the magnet is super strong and makes the shower sprayer easy to use.
Done! Seriously, it took less than five minutes but now I have an upgrade for my shower and it even makes it easier to clean the shower area.
You can get the same shower head here but we picked ours up at our local Home Depot.
Let me know in the comments if you would like to see more projects that we’ve done to take our home beyond builder basic or if you need tips on choosing the items for your upgrades.